Content
1 Login to the Administration panel
2 Writing a new article
2.1 Editing options
2.2 How to insert a link
2.3 How to insert a picture
2.4 How to insert documents
2.5 How to insert video (YouTube, Vimeo, Vine)
2.5.1 Youtube
2.5.2 Vimeo
2.5.3 Vine
2.6 How to insert sound
2.7 How to insert a presentation
2.8 Article Preview
2.9 Tags
2.10 Categories
2.11 Check status of your submission
1 Login to the Administration panel
If you want to write article on the cfpracticelab.org blog, you have to login to the following web address: http://cfpracticelab.org/wp-login.php.

If you cannot access the Administration panel even though you are using a correct Username and password, please contact the site Administrator: Boris Strecansky, strecansky@changenet.sk.
2 Writing a new article
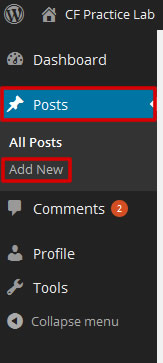
To write a new article, once you are in the Administration panel click on Posts and then Add New:
On the left side of the page you will see a form where you can write and edit your new article:
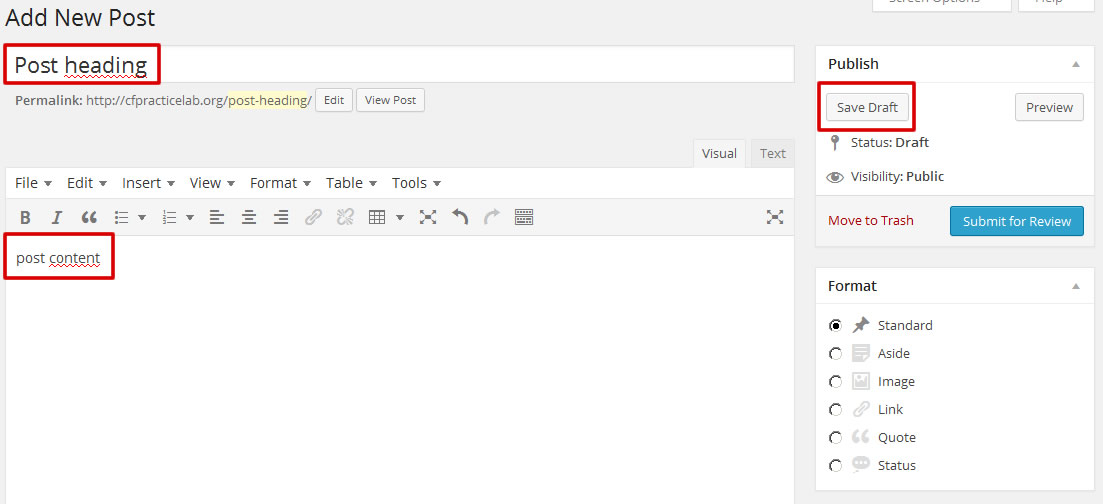
If you have started to write a new article and want to save your unfinished work, you can click on the Save Draft button on the right side. If your article is finished, you can submit it to editor using the Submit for Review button.
2.1 Editing options
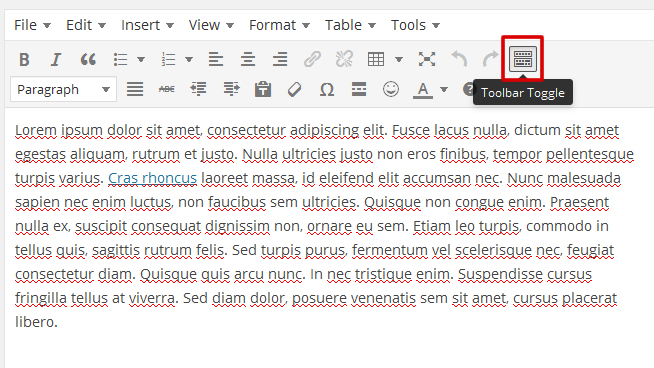
You can also use many of the editing options commonly used in theMicrosoft Word, to make text bold, put it in italics, blockquote a text, make a bulleted or numbered list, or align text to the right, left or center. You can also cut, copy and paste text from another source.
To expand the Toolbar with editing options click on the Toolbar Toggle:
2.2 How to insert a link
To insert a link into your text, first highlight the part of text where you would like the link to be inserted:
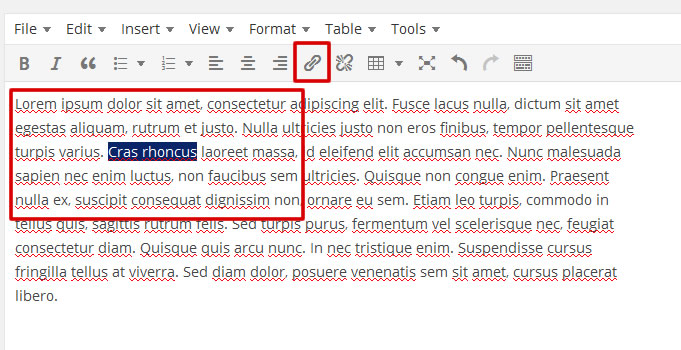
After highligting the text, click on the Insert/Edit Link button. An Insert/Edit Link popup window will appear:
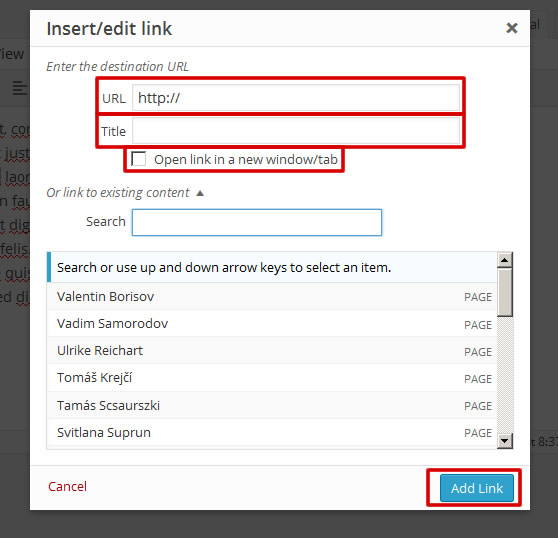
Write the URL address of the webpage you want to link to, the title of link (this should be meaningful text describing link), you should check the checkbox if the link is to other page than cfpracticelab.org. If you want to add a link to existing cfpracticelab content, just click on the content given in the existing content list. It is also possible to make a quick search for an article in Search box.
Then click on the Add Link button. The link text will be blue and underlined.
Important!: If you want to insert a link to a document (for example, a reflection paper already posted to www.cfpracticelab.org or a new document from your own files), please see use the instructions below on How to insert a document.
To unlink a text, highlight the text and click on the Remove Link button:

2.3 How to insert a picture
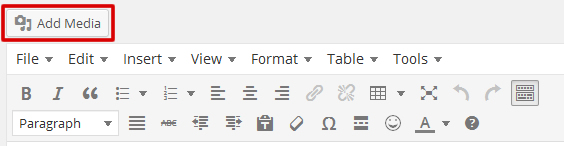
First you have to be in the place in text where you want to insert the picture. Then click the Add Media button:
You will see one of these two screens:

or:
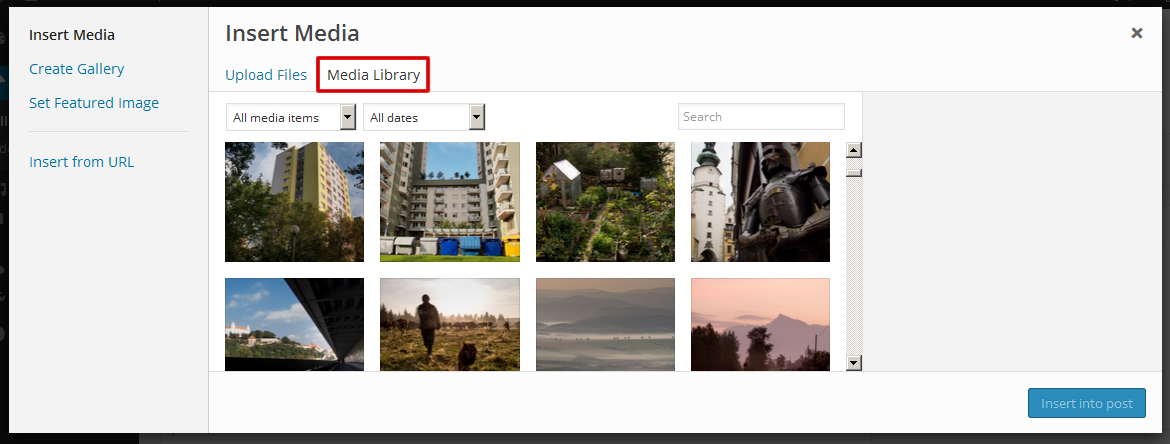
On the first screen you can upload your own pictures to cfpracticelab.org site. On the second screen you can choose from pictures (or documents) that have already been uploaded to the site.
If you wish to upload your own pictures or documents, click on the Select Files button. An Upload File popup window will appear, where you can choose a file from your computer. Choose the file and click on the Open button. Next you will see the following screen:
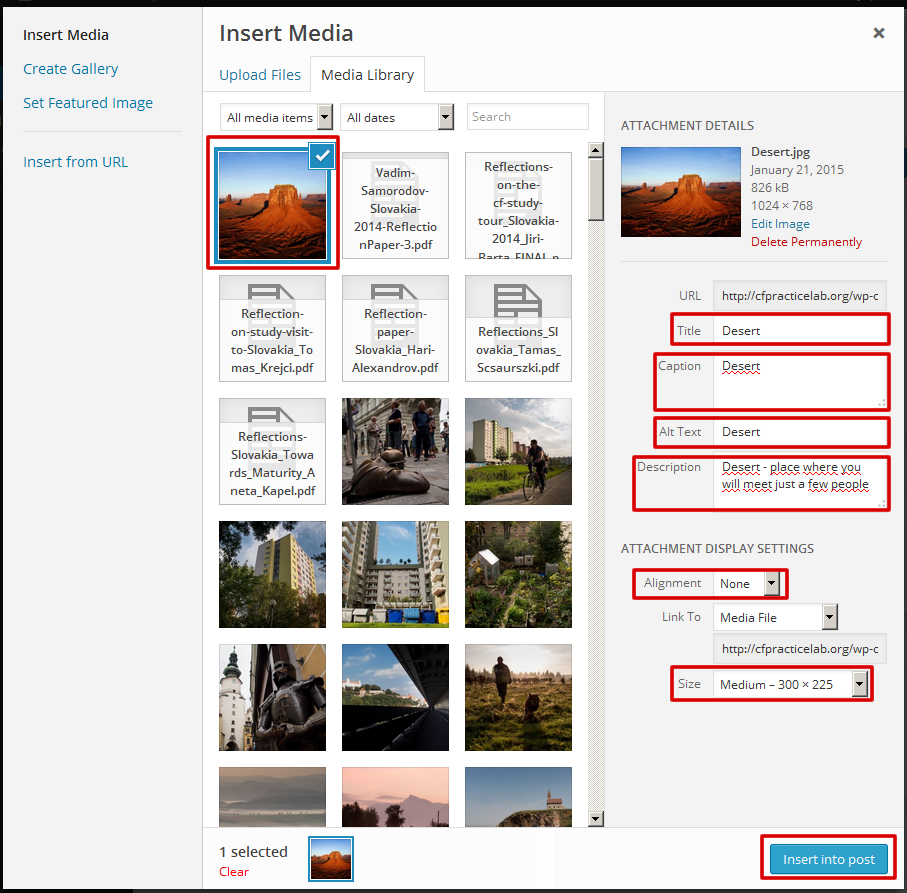
The chosen picture is checked with a blue checkbox. You can also fill in a Title, Caption, Alt text (for readers for people with visual impairment), and a description:
Alt text should say in brief, what is on the picture (e.g. 4 people sitting in the kitchen; logo of community; little boy playing with his dog)
Title is title of the picture, e.g. – Kitchen, Community logo, Childhood
Caption – is text, which will be on the bottom of picture for blog users to read on frontend
Description – longer text describing e.g. chart or diagram
You can also align the picture to the left, center, or right, or change the size of picture. When you are done editing, you can insert picture using the Insert Into Post button.
2.4 How to insert documents
The process to upload links to documents into your article (for example those already posted elsewhere on the www.cfpracticelab .org site or from your own files) is almost the same, but there is a difference in how you must describe the document. In the example below, we have already uploaded the document to the site and are therefore on following screen:
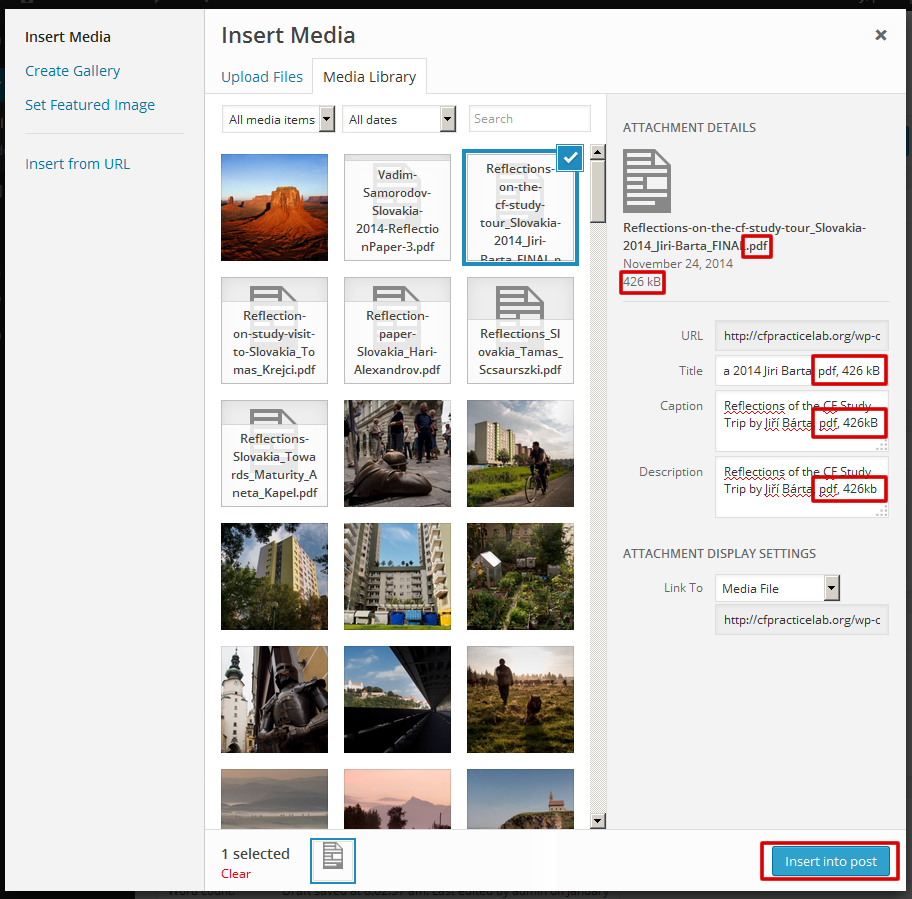
Please add at the end of the title, caption and description texts the type of document (pdf, doc, rtf, etc…; you can check it in the attachment details) and its size (also visible in the attachment details). It is important for all blog visitors to knowwhat type of document and the size of the document they will download!
2.5 How to insert video (YouTube, Vimeo, Vine)
2.5.1 Youtube
If you want to insert a video from Youtube into your article, find the video on Youtube. Click on the Share button below the video:

Next click on Embed (you are still on the YouTube site) and copy the highlighted text:

Now go to your article, switch to Text view, and paste the Youtube code to the place where you want the video to appear:

Important!: you must add http: in src=““. This is the code from Youtube:
<iframe width=”420″ height=”315″ src=”//www.youtube.com/embed/IH3aQJj119Y” frameborder=”0″ allowfullscreen></iframe>
This is an example of how the code should look in your article:
<iframe width=”420″ height=”315″ src=”http://www.youtube.com/embed/IH3aQJj119Y” frameborder=”0″ allowfullscreen></iframe>
You can now switch to Visual view and Save the article. If you want to double-check what you have uploaded you use the Preview button (see instructions below).
2.5.2 Vimeo
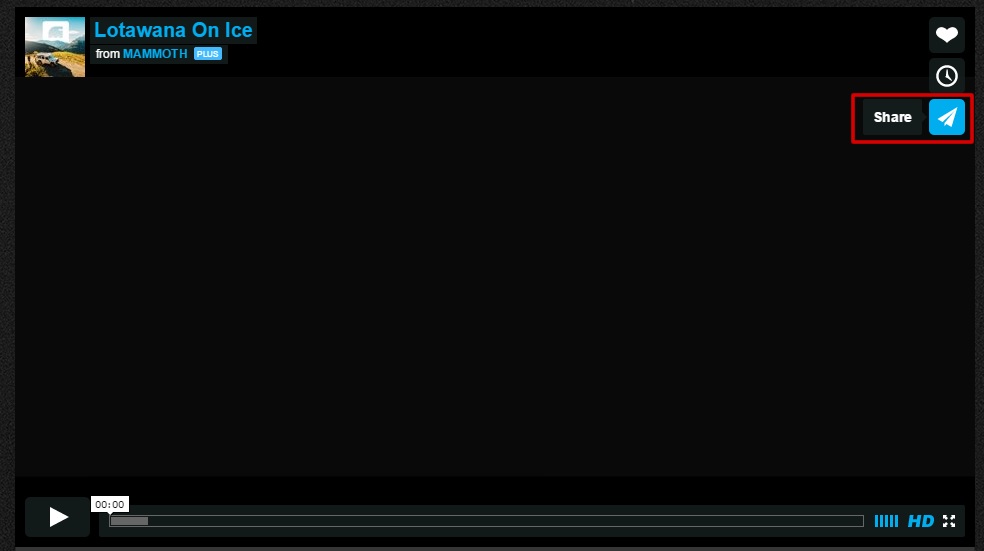
Once you have opened the selected video on the Vimeo.com site, click on the Share button:
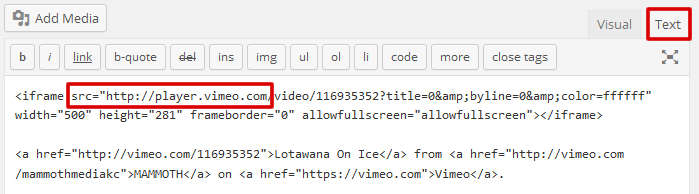
Then copy the code into your article using the Embed field in the same way as instructed for a Youtube video:

Again, you must be in Text view and must add „http:“ to src=““:
2.5.3 Vine
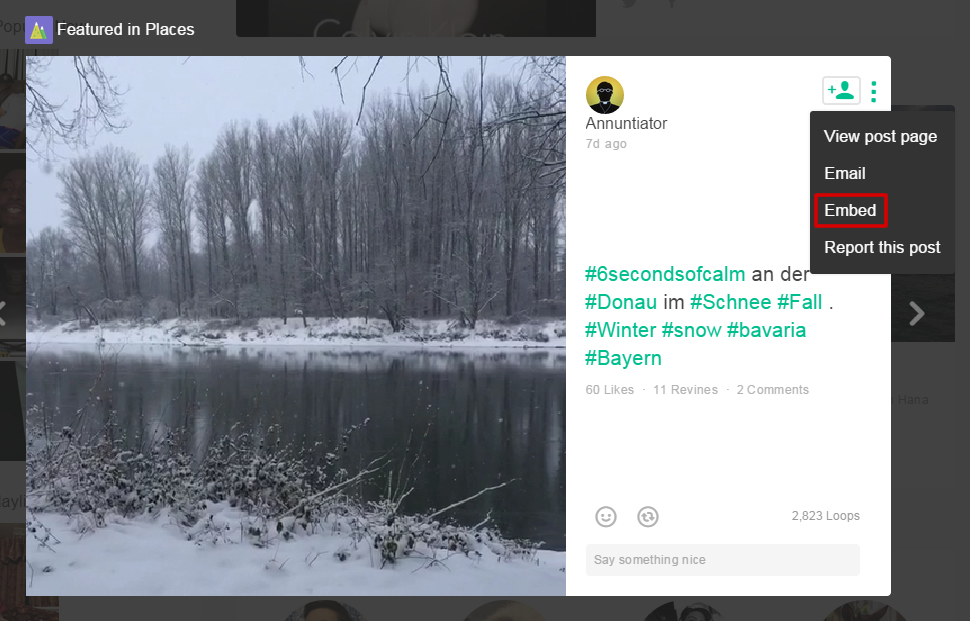
On the Vine.co site click in the upper right corner of the selected video and click on Embed:
On the next screen you can choose the size of video, if you want a simple video or postcard and whether you want it with or without automatic sound:
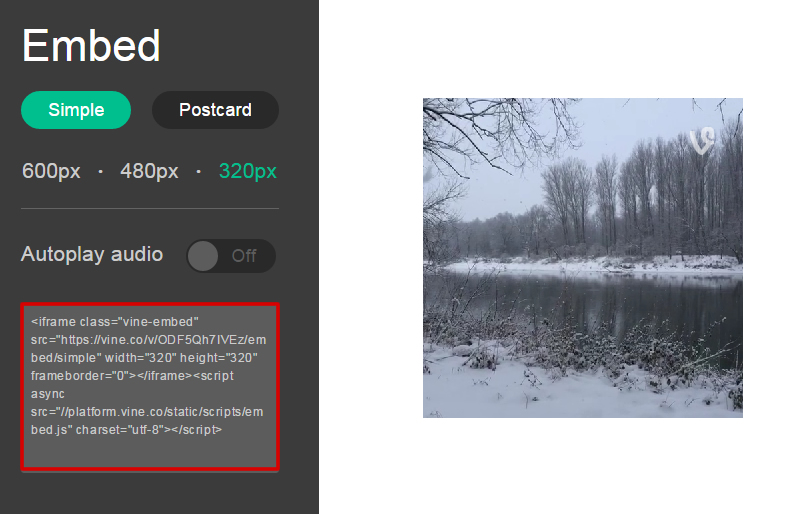
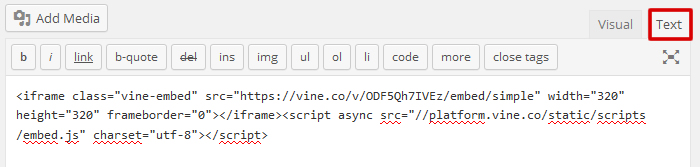
After these adjustments copy the code to your article following the instructions provided for Youtube or Vine, but in this case you do not have to change anything in the code:
2.6 How to insert sound
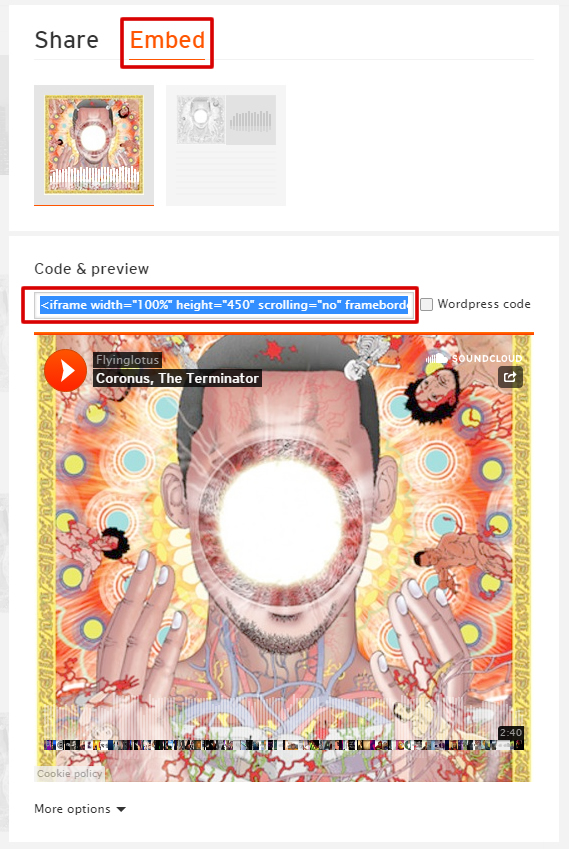
To insert a sound file to your article, you must upload the sound to SoundCloud (https://soundcloud.com) and then embed it like video. Find the sound you want to embed and click on the Share button:

Once in the pop-up window, first click on Embed and than copy the code:
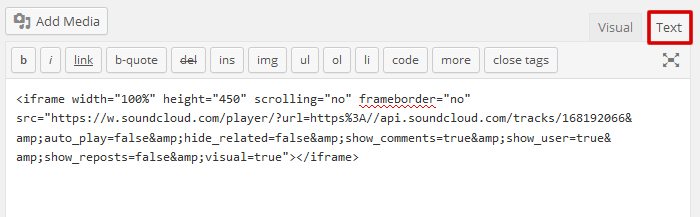
Paste the code into your article (the article should be in Text view) and Save the article:
2.7 How to insert a presentation
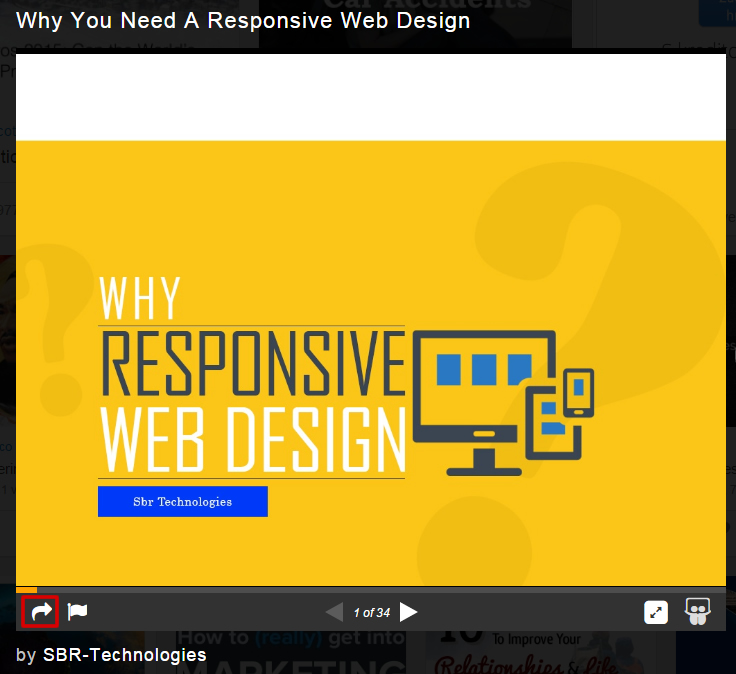
You can upload your presentation to a service called SlideShare and than embed it in your article. Find the presentation you want to embed and click on the Share button:
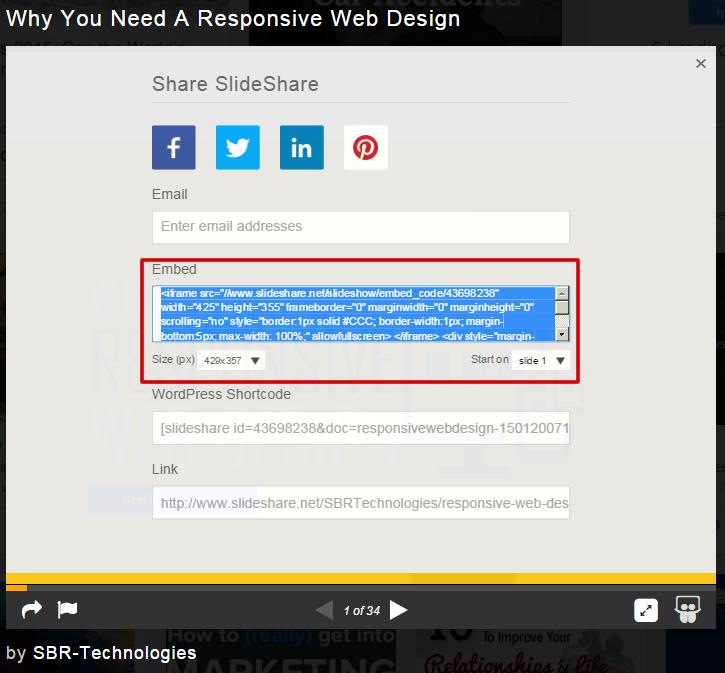
Copy the Embed code in the next screen:
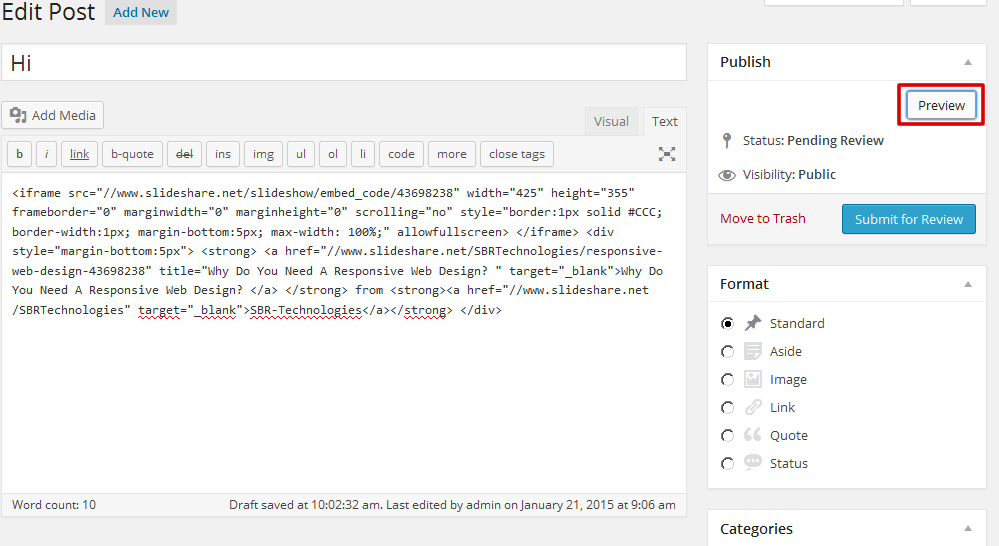
Paste the code into your article (the article must be in Text view) and save the article:

2.8 Article Preview
You can always preview your article before you send it to the Editor using the Submit for Review button. Just click on the Preview button on the right side of screen:
This will open a new window showing a preview of your article. To close it, just close the window and you can further edit your article.
2.9 Tags
You can add tags to your article to help direct blog readers to specific content. Tags are keywords describing the content of article. E.g. an article can have the tags: „community“, or„foundation“:
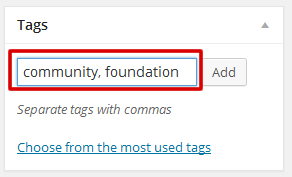
Just find the Tag box, add your tag(s) – multiple tags must be separated by a comma – to the article and click on the Add button. You can also choose from existing tags by clickingon „Choose from the most used tags“ link. Please do not give more than 5 tags to your article.
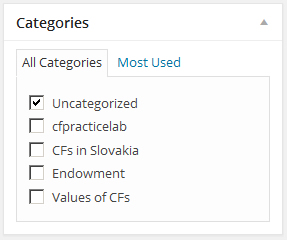
2.10 Categories
You can assign your article to a specific category/categories depending on the content of your article. Categories are pre-set. It is not possible to add new ones.
2.11 Check status of your submission
To check if your article you just sent has been received, go to the main Posts screen and check its Status (which should say Pending Review).
For any questions or difficulties using this manual, please contact Peter Teplický, peto@bam.sk.
Pingback: About Blogging Platform at cfpracticelab.org | CF Practice Lab